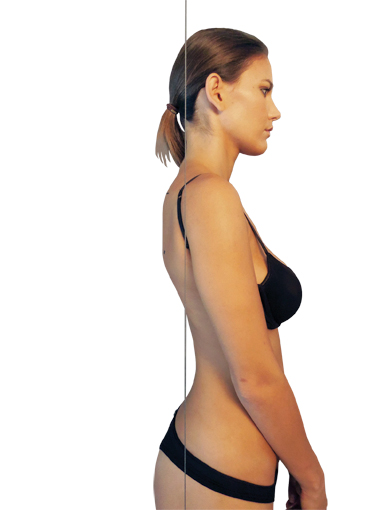
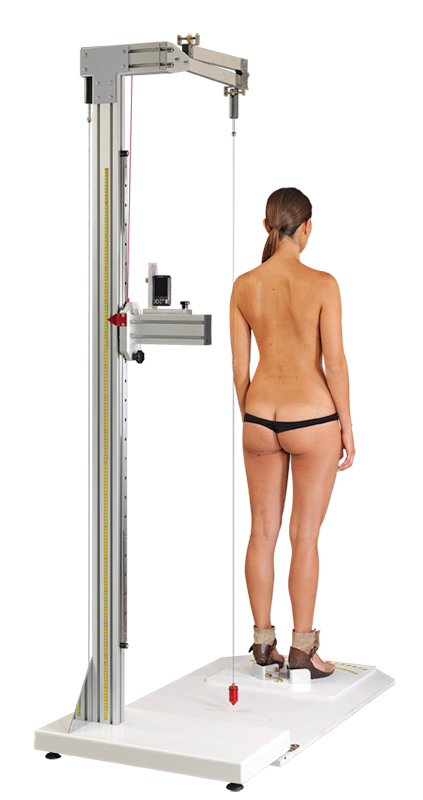
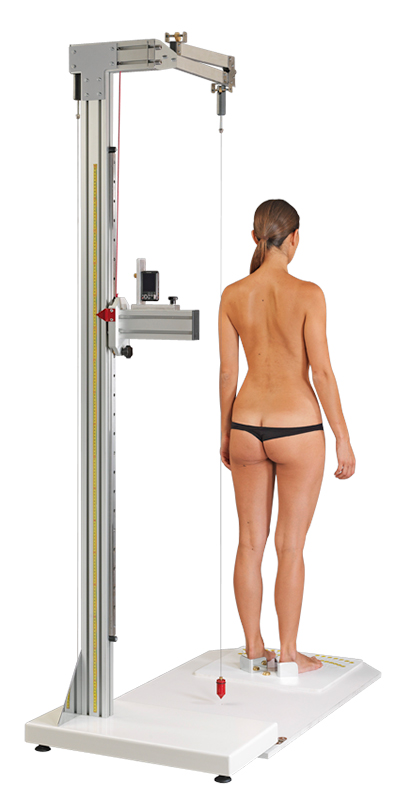
WALKABLE PHOTO POSTURAL TEST

The PHOTO POSTURAL TEST device is equipped with a homonymous software programme in order to facilitate its use. The software, designed to be minimal, practical and easy to use, allows for the effective cataloguing of body shots, on which notes or lines and points of interest may be added. The shots can also be printed with different layouts and various other options. Finally, the various shots taken before and after any treatments can be saved in a single file, so as to make immediate or future comparisons simpler.
This guide contains practical examples for using the device in certain typical situations that may arise for the operator. We note below four essential steps to follow when first using the system.
1. The postural shot of the patient
- • The patient must only wear minimal underwear (or make it such) so as to highlight the buttock line.
- • If a female patient wishes to keep wearing her bra (although it is better without it), it should be undone for the rear shots.
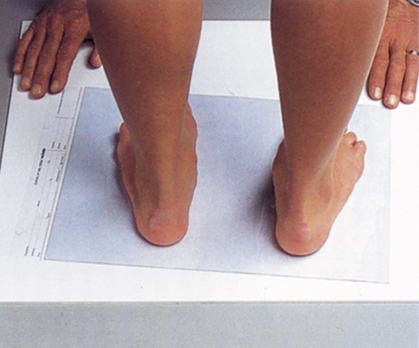
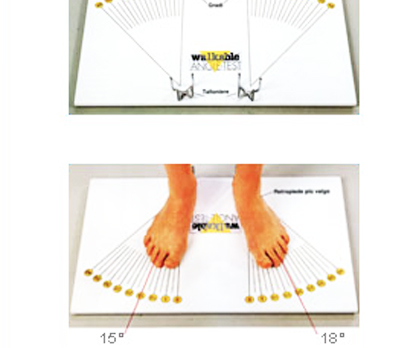
- • Position the patient's feet centring the heels in the special heel pads, ensuring that there is symmetry in the opening angles of the forefeet.
- • Ask the patient to stand upright, but not rigidly.
- • Ask the patient to say when he/she feels "in position", then take the photo, ensuring that the centre of the lens corresponds: For the torso shot, to the centre of the shoulder blades; For the pelvis shot, under the gluteal folds; For the "portrait", to the tip of the chin.
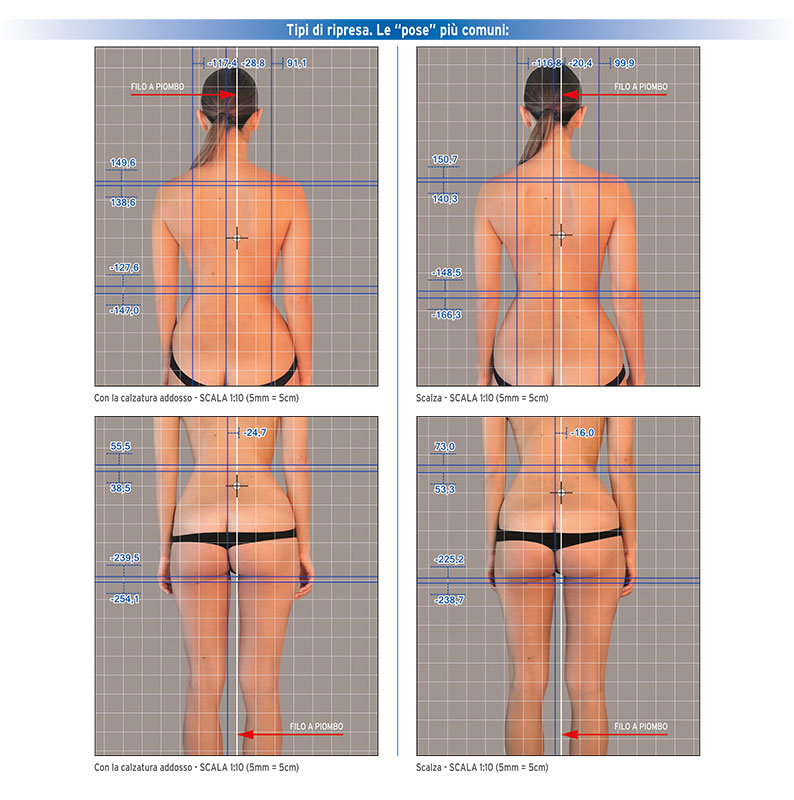
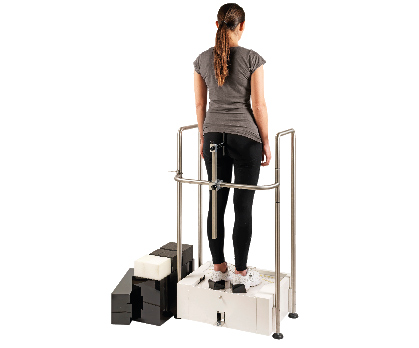
PhotoPostural Test allows you to take images of the patient using a plumb bob as a reference line with respect to the centre of the body and it also allows for the subsequent "calibration" of the acquired image if, when taking the photo, appropriate references are marked or positioned on the body.
In order to take a useful shot, the device should be positioned near a neutral wall which will act as a background. There should be sufficient and diffuse lighting. Do not use the camera flash as the presence of the plumb bob produces a distracting shadow on the patient.
2. Importing images into the programme
Once images have been taken with the digital camera, they can be imported into the software by selecting them directly from the memory-card or from the PC if saved earlier. They can be catalogued by a name that reflects the position or shot area (head, torso, pelvis, front, back or sideways) as well as the first shot, during and after the treatment...
3. Calibration of images and notes
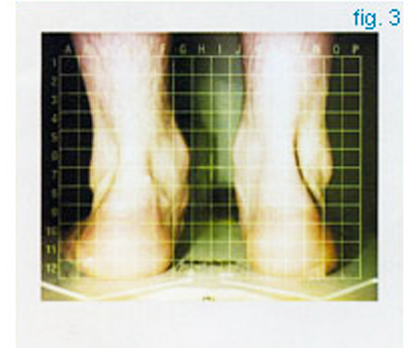
Once the images have been imported, they can be "calibrated" in order to have precise shots to use for measuring. To that end, before taking the shots, a ruler or other reference should be rested on the patient's body, or (more advisable) two points (see photo sample) should be marked directly on the skin with a make-up pencil at such a distance so that they can be measured one from the other. These references will then be used to calibrate the image. An important aspect is that lines and/or points of reference may be inserted into the images taken, to which notes may be added whilst taking the shots and/or after the final analysis. The lines and points may be hidden or visible, as required. Using the lines, distances and angles of incidence (even of a number of broken sections) can be measured with respect to the vertical centreline. Finally, vertical/horizontal guides can be used with distances measured from "zero" point (or the centre of the image). Another important aid for immediate visual assessment is provided by the use of a virtual grid that overlaps the image and can be customised in terms of spacing, colour and intensity.
4. Final presentation print
Once the images of the patient have been selected and prepared, they can be printed with various types of layouts depending upon requirements, both on paper and on jpg image files calibrated in A4 format. For privacy reasons, both the print and the memory-card should be provided to the client/patient who, if necessary, may bring it back to repeat the test for comparative purposes.